The six modifications that make the biggest difference in 3-Gun competition, in priority order:
If you can only afford one modification, start with the extended magazine tube. If you can afford two, add the loading port work.
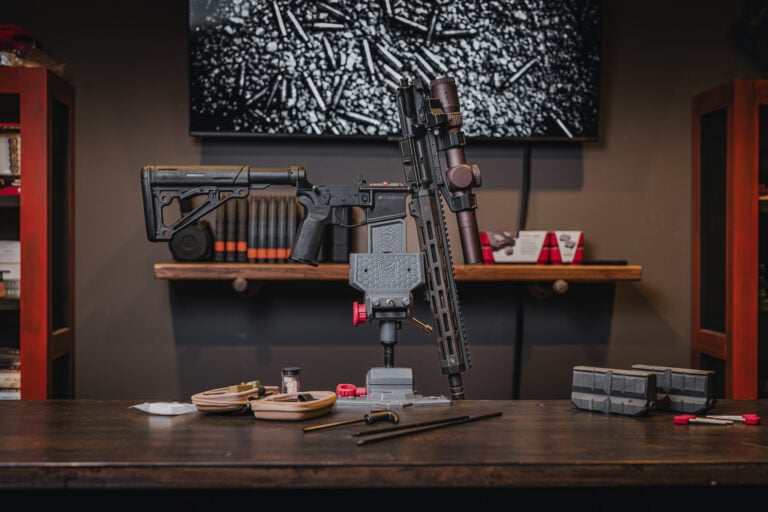
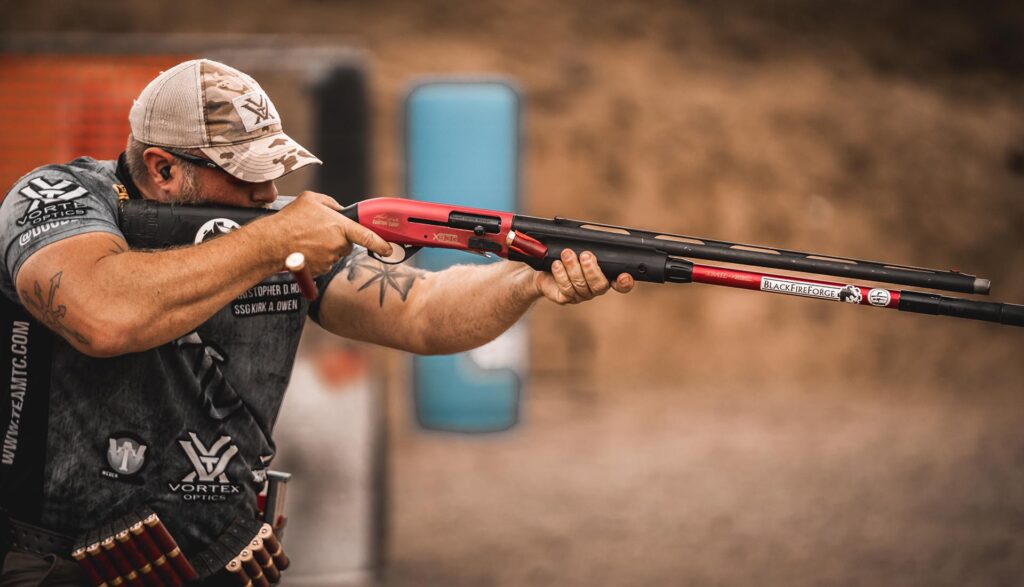
In 3-Gun, your shotgun can make or break your match. Not only is it important to select a reliable platform, you need to make sure it’s well-equipped for capacity and ease of loading as well as fast and accurate target engagements.
Picking up a 3-Gun-ready-shotgun like the Benelli M2 3-Gun Performance Shop, Mossberg 940 JM PRO, or Dissident Arms DAm2 Elite would be ideal, but not always in the budget for most competitors just starting out.
I personally started with a used Benelli M2 Field for my first 3-Gun shotgun and modified it over time to suit the sport before eventually dropping money on a true race gun. This article will help guide you to do the same.
This guide covers the modifications that made the biggest difference, ranked from most critical to nice-to-have. Whether you’re running a Benelli, Mossberg 930, Stoeger M3K, Beretta 1301, or something else entirely, these same principles apply.
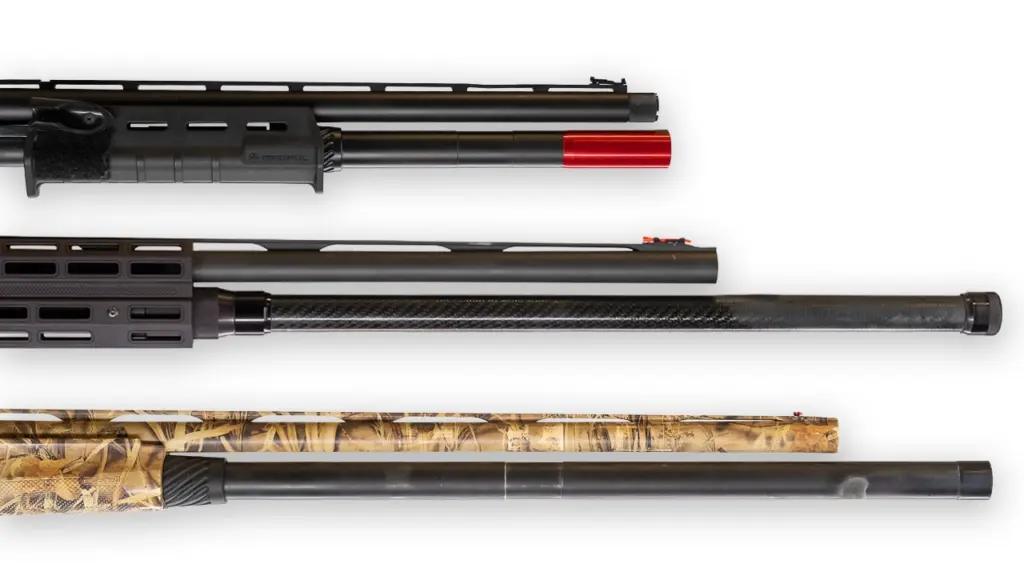
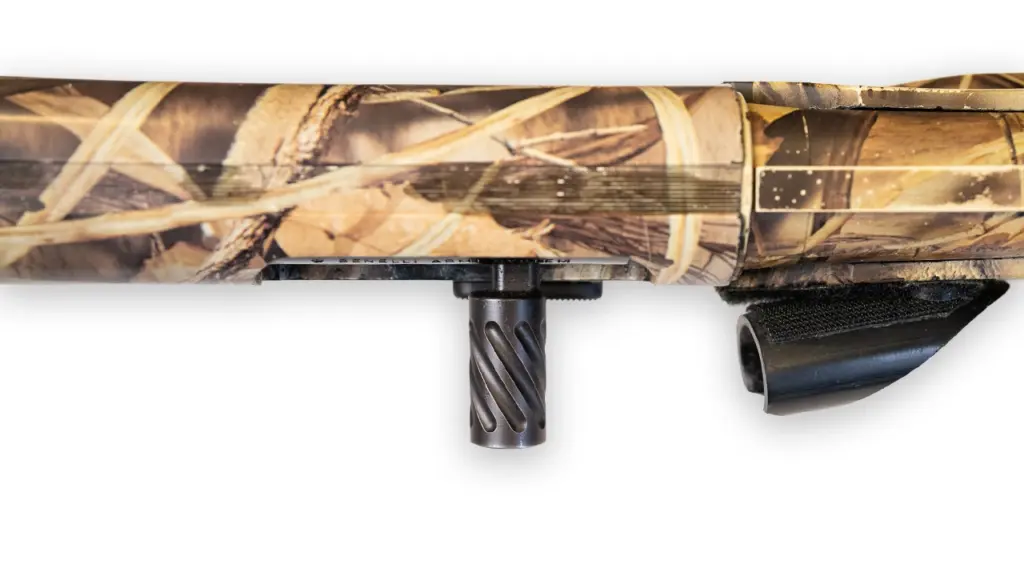
An extended magazine tube is arguably the most crucial modification you can make to your shotgun, you want to match the specifications for your chosen division here so you’re not left throwing extra quad loads in on the clock when you should be moving or shooting.
For Modified and Tactical divisions, you want 12-13 round total capacity (tube plus chamber). This covers the majority of shotgun-heavy stages, allowing you to get creative with your reloads. If you’re shooting Limited or Heavy Metal division, check your specific rules—some may actually cap magazine length relative to barrel length (versus just plugging a 12 round tube to max out at 8).
After installing your extension, trim your magazine spring so it extends 14-16 inches past the end of the tube when uncompressed (if needed, I rarely trim the spring on my +12 tubes). Too long and you could have loading issues. Too short and shells won’t feed reliably under recoil. When in doubt, leave it long – I’ve seen plenty of competitors struggle with feeding issues on the clock because their spring was too short.
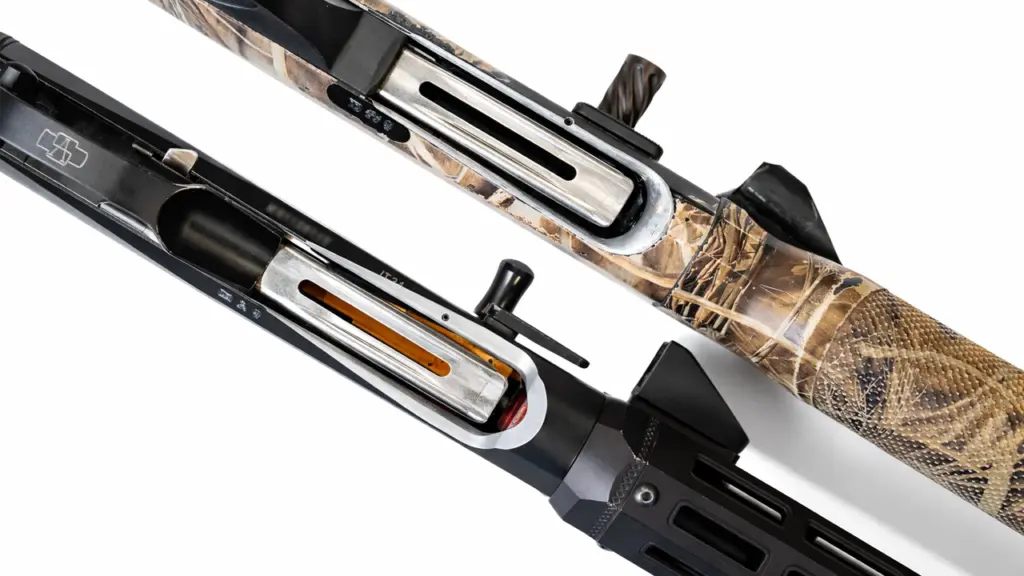
Reloading speed will make or break your performance. An enlarged and beveled loading port makes feeding shells into your shotgun easier, and usually faster (at the very least, more consistent). You can either attempt to DIY, but I strongly recommend leveraging any of the reputable shops out there that will cut a loading port for you at a reasonable cost.
Expect to pay $150-300 for professional loading port work. Shops like Dissident Arms, Triangle Shooting Sports, and MOA Precision all offer this service.
Before you get the work done, figure out whether you’re going to load strong hand or weak hand. The port cuts can be slightly different depending on your preferred loading technique. Watch videos of both methods, try them with dummy rounds, and commit to one before sending your gun out.
The A&S Engineering Enhanced Trigger Guard ($220-$240) adds a ramp with rails to the trigger guard that further guides shells into the tube. This is a nice-to-have addition once your port work is done, but isn’t required.
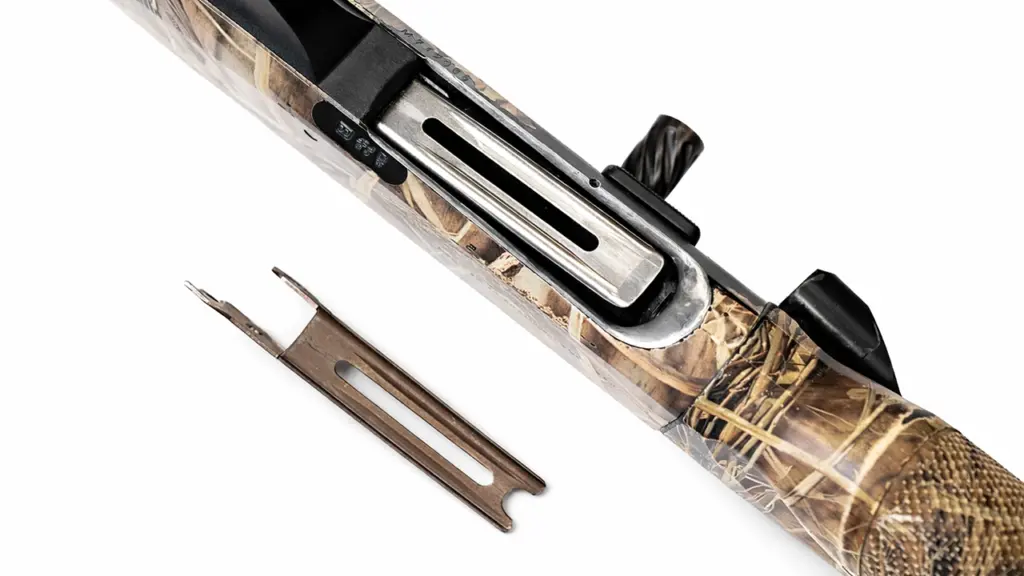
Depending on your model of shotgun, this may not apply to you – but if you have a factory lifter with forked prongs at the end, it’s best to either get it welded or replace with the Taran Tactical Innovations version to make loading even easier. It also helps prevent injury, as getting your thumb stuck in the load port between the lifter tends to result in some deep cuts and a lot of blood.
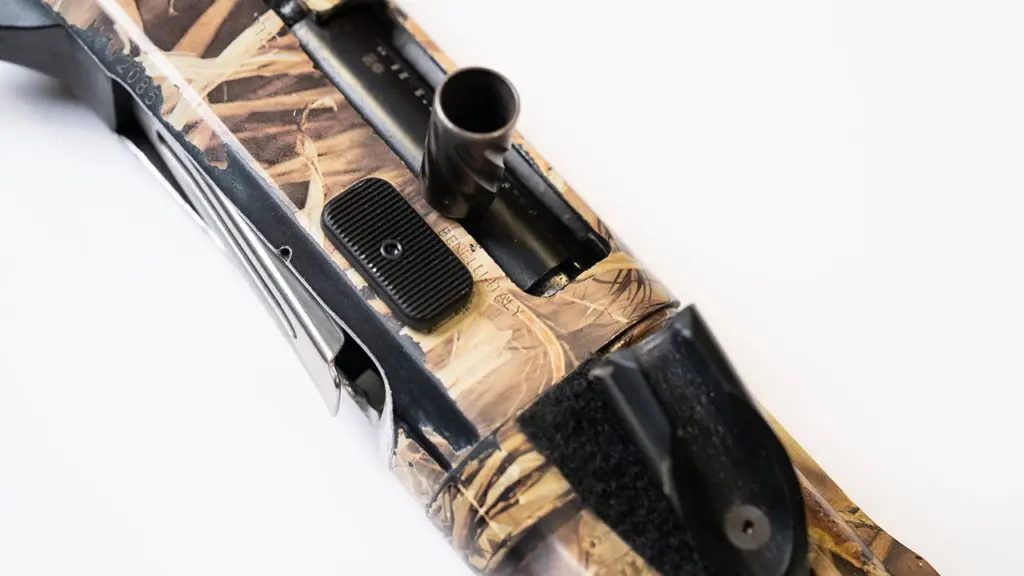
Let’s be honest here, running a shotgun dry happens more than one would care to admit. An oversized or extended bolt release allows for faster, more reliable manipulation of your shotgun’s action when you’ve inadvertently made that dreaded mistake. Just drop a shell in, send the bolt home & proceed with a quad load to get back to work.
Factory bolt releases are small, often recessed, and require precise finger placement to activate. Under match stress with sweaty hands and an elevated heart rate, that small button becomes harder to hit. An oversized release gives you a bigger target and can often be activated with your palm or the side of your hand.
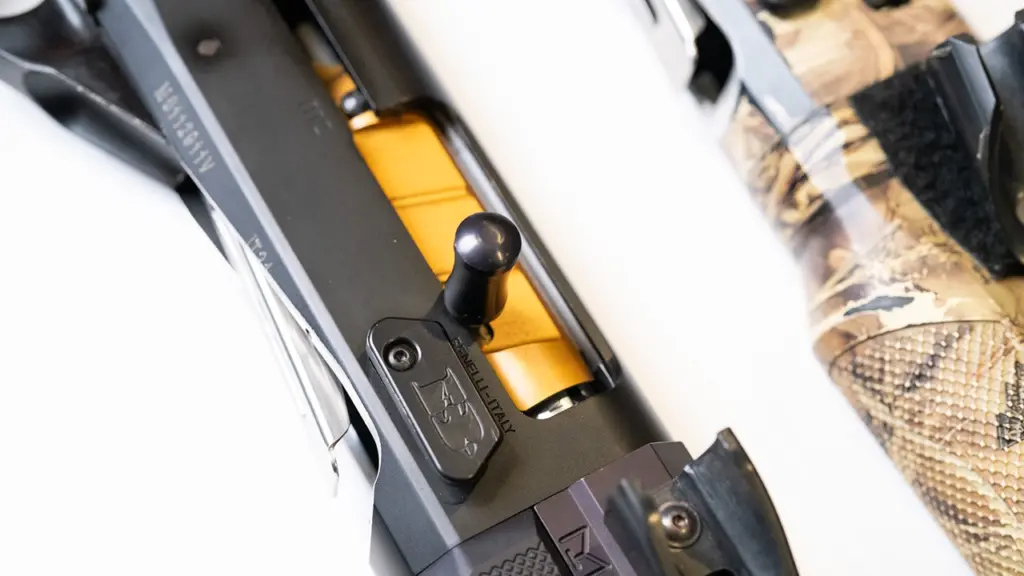
Similar to the Extended bolt release, an extended charging handle gives you better control over your shotgun’s action, especially when you need to rack a shell out or have a stage with an empty chamber start (rare, but you don’t want the lack of a proper handle slowing you down).

You want something with enough surface area to grip quickly, but not so large that it catches on your gear during movement. Most aftermarket handles strike a reasonable balance, but test yours by running through positions before a match.
Make sure the handle doesn’t affect your gun’s cycling. Some oversized handles can add enough mass to change the bolt’s timing. If you notice cycling issues after installation, contact the manufacturer.

While many shooters prefer a bead sight for birdshot for fast shooting, having adjustable rear sights can significantly improve your rifled slug accuracy at longer ranges. I hesitated to go this route for quite some time due having to send it in for the work, but wish I hadn’t once I got to experience how much more accurate my slug shooting became.
Low-profile fiber optic sights work well because they’re fast to pick up on birdshot targets but give you the precision you need for slugs. Look for sights with easy windage and elevation adjustments so you can zero for your specific slug load.
The Briley adjustable rear sight is a solid choice, paired up with Briley Hi Viz™ light pipe front sight.
If your local matches rarely include slug targets beyond 50 yards, you can get by with a bead. But if you’re shooting regional or national matches, expect to see slug shots out to 75+ yards regularly.
If you’re building up a shotgun over time like I did, here’s how I’d prioritize spending:
$100-150 Budget: Extended magazine tube only. This gives you the biggest improvement for the money.
$250-350 Budget: Magazine tube + professional loading port work. These two modifications together address your biggest handicaps: capacity and reload speed.
$400-500 Budget: Add lifter modification and extended bolt release. Now you have a shotgun that handles most match situations well.
$600+ Budget: Add sights and charging handle. Or consider whether that money gets you closer to a purpose-built competition shotgun.
Every modification changes how your shotgun runs. Before shooting a match with new parts:
Reliability beats speed. A fast gun that jams loses to a slightly slower gun that runs clean.
These six modifications address the most common equipment-related problems in 3-Gun shotgun stages. With all of them installed and tested, you’ll have a gun that doesn’t hold you back.
But modifications don’t replace practice. I’ve been outshot by competitors running stock shotguns because they spent their money on ammo and training instead of parts. The modifications make your ceiling higher—practice is what gets you there.
Whether you’re building up a field gun like I did or just filling gaps on a semi-race-ready platform, prioritize the mods that address your biggest weaknesses. For most shooters, that’s capacity and reload speed. Start there, test thoroughly, and add more as your budget and skill level justify the investment.
A basic competition-ready setup (magazine tube, loading port, and lifter) runs $250-400 depending on your base gun and whether you do any work yourself. A fully modified shotgun with all six upgrades typically costs $500-800 in parts and labor.
The Benelli M2, Stoeger M3K, Mossberg 930, and Beretta 1301 are the most common platforms for modification. All have strong aftermarket support. The Stoeger M3K offers the best value for a budget build. The Benelli M2 has the most aftermarket options but costs more to start.
Magazine tube extensions, bolt releases, charging handles, and lifter replacements are straightforward DIY jobs with basic tools. Loading port work and sight installation typically require professional gunsmith services unless you have metalworking experience.
If you already own a compatible shotgun and your budget is under $1,000, modifying makes sense. If you’re starting from zero and have $1,200+, a purpose-built option like the Mossberg 940 JM Pro gives you everything done right from the factory. The break-even point is roughly when modification costs exceed 60% of a competition-ready gun’s price.
No. The magazine tube and loading port work provide about 80% of the benefit. Many competitive shooters have done well with just those two modifications. The remaining four are incremental improvements that matter more as your skill level increases.