Aside from adding a magazine extension tube, opening the loading port up on your shotgun is probably the most important modification you make. This was a DIY task that warranted much contemplation when I considered the risk of potentially ruining a $1,400 shotgun, but some practice with a less expensive 870 made me a bit more comfortable with the process.
There are plenty of shops out there that will do this for a nominal fee, but probably the most influential factor in making this modification myself was that it’d be tailored to my exact need and loading style, versus spending money for a result that still might need to be tweaked.
Let’s get started, shall we?
Before beginning, remember to take things slow. You might repeat this same process three or four times until you get your loading port just right. You can always take more material away, but it’s impossible to add it back once you’ve gone too far.
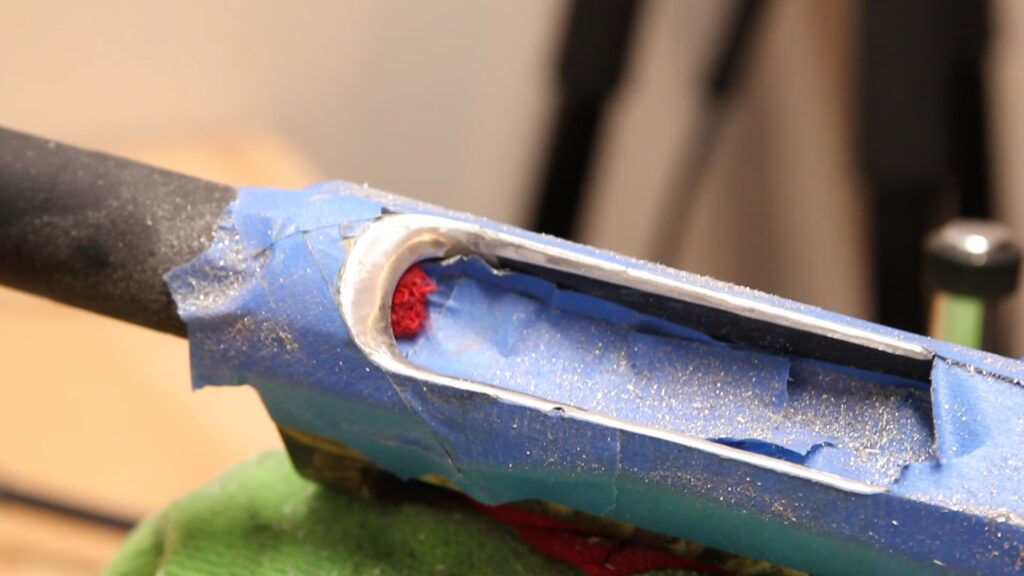
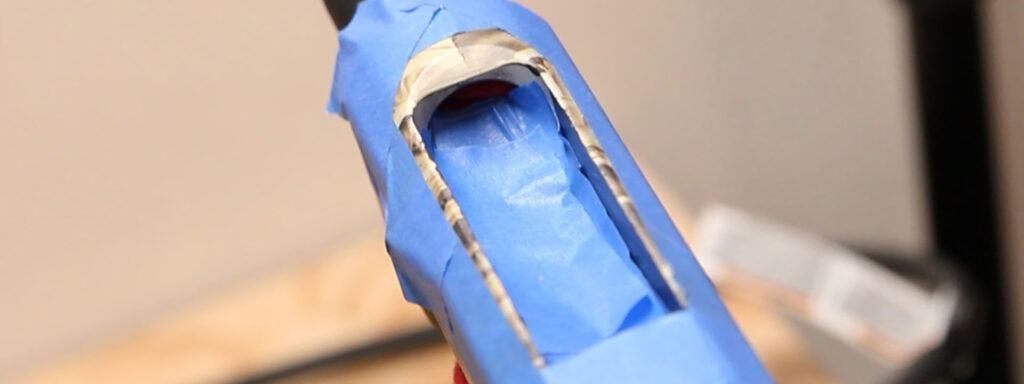
My first step was to disassemble the shotgun and use the masking tape to mark off how much material I wanted to remove. It is important not to affect the legibility of the serial number, and avoid carving out any material beyond the edge of the trigger housing.
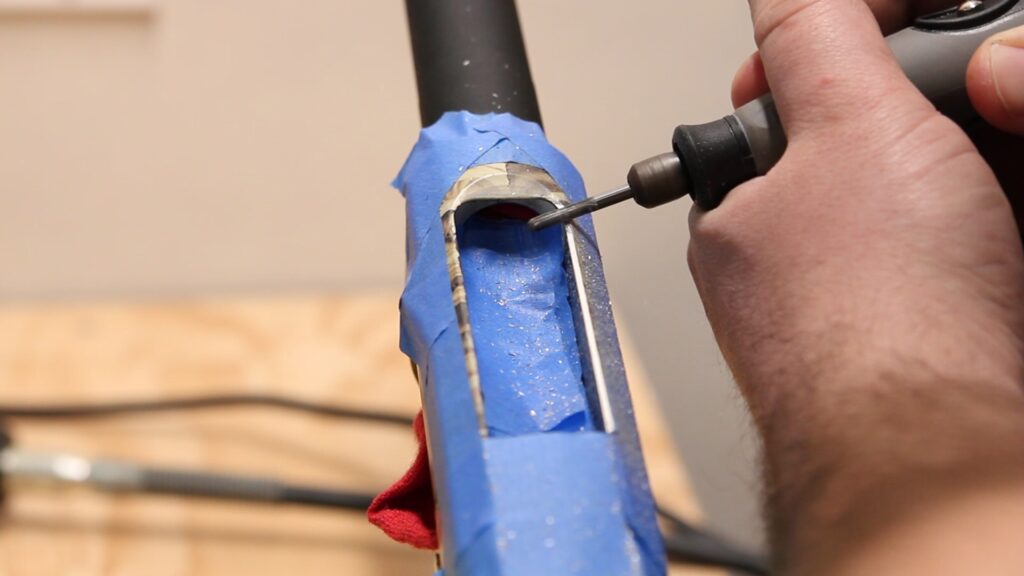
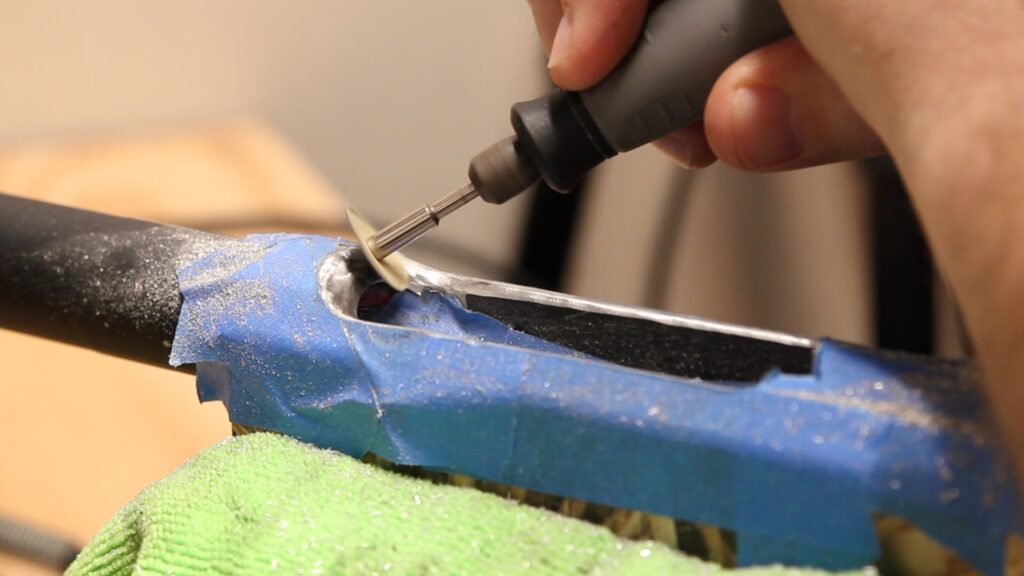
With the prep work in place, I started carving with the Tungsten Carbide Cutter at medium speed. Against an aluminum receiver, I found that this just barely breaks the surface and makes it very difficult to mess up.
Moving up to full speed, carving got much easier. Caution had to be taken not to dig in too deep and create hills & valleys in the edge. Constant, firm pressure in a uniform motion will take material away at a comfortable rate.
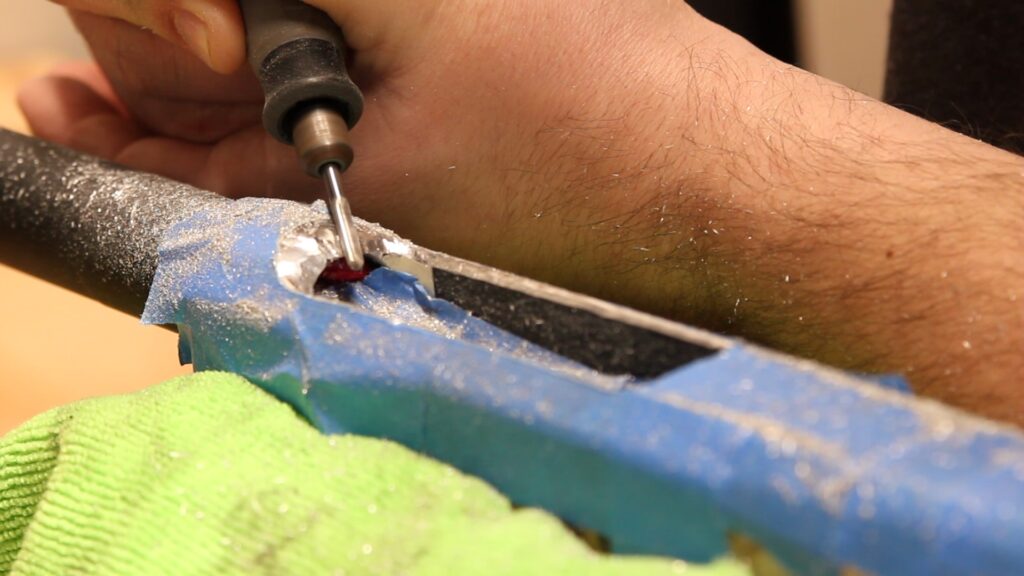
Working the corners can prove to be a challenge, and this is where having a flex shaft proved very beneficial. Again, a uniform motion while applying firm pressure was key. Feathering pressure at the beginning and end of each pass. My thoughts while carving out the forward most portion of the loading port was to keep the tungsten shaft parallel (well. mostly parallel) to the path that I’d expect a pair of shells to take when using the load four method.
Once the basic shape was in place, I moved on to the sanding drum to knock down any “hills” I might have created. The drum probably isn’t the most ideal bit for “carving” the aluminum receiver, as it is a 120 grit sanding band coated with aluminum oxide. Still, the larger diameter 1/2″ drum was helpful in smoothing things out and put on a pre-finish.
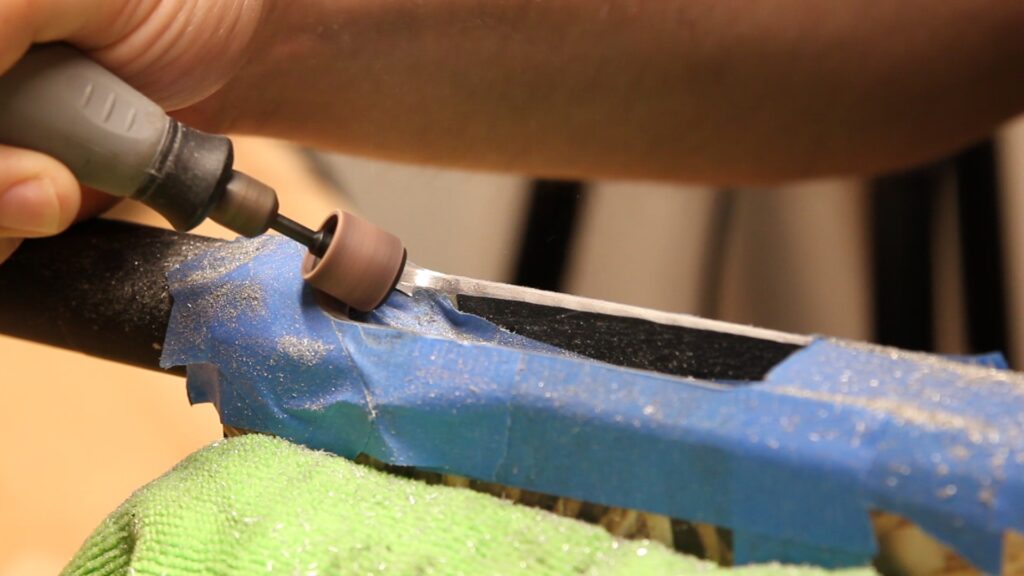
Since I’ve only removed minimal material from the receiver to this point, I don’t want to spend too much time putting a polished finish on. This is where I moved into a 240 grit sanding disc, it quickly smoothed things out to a nice shine without wasting too much effort.
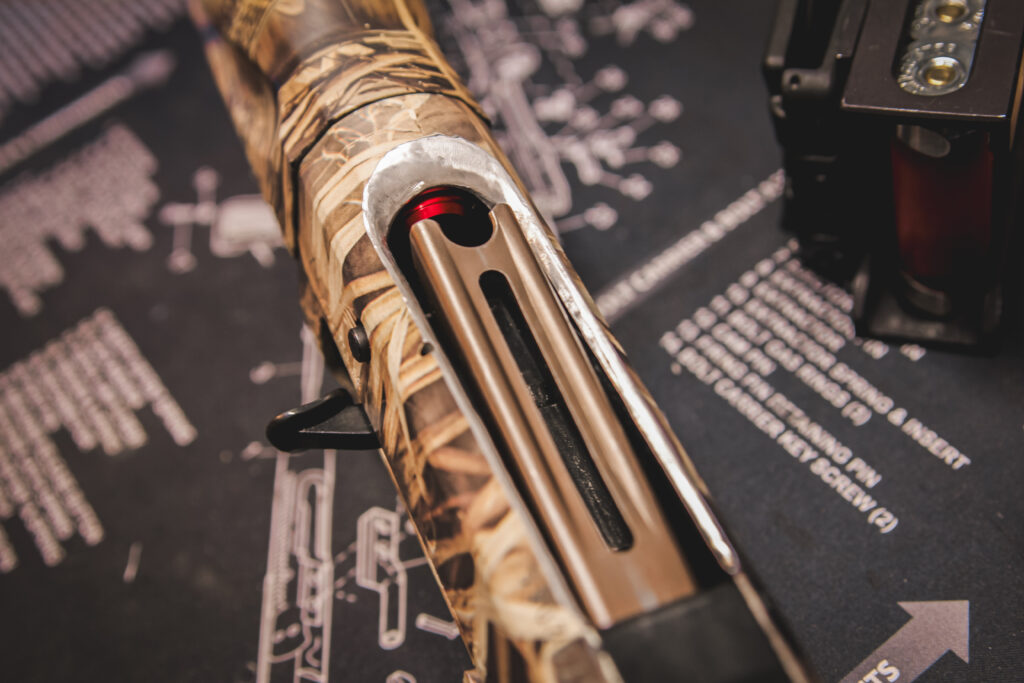
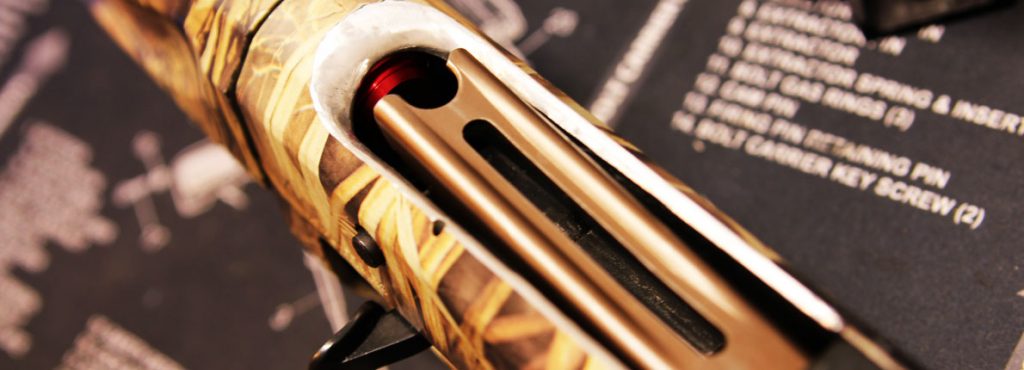
With this first run complete, it’s time to get the lifter welded up and see what additional modifications I need to make, if any. The overall idea is to be able to easily engage the shell catch with each load, and avoiding an accidental ghost load that will cost many seconds in a stage.