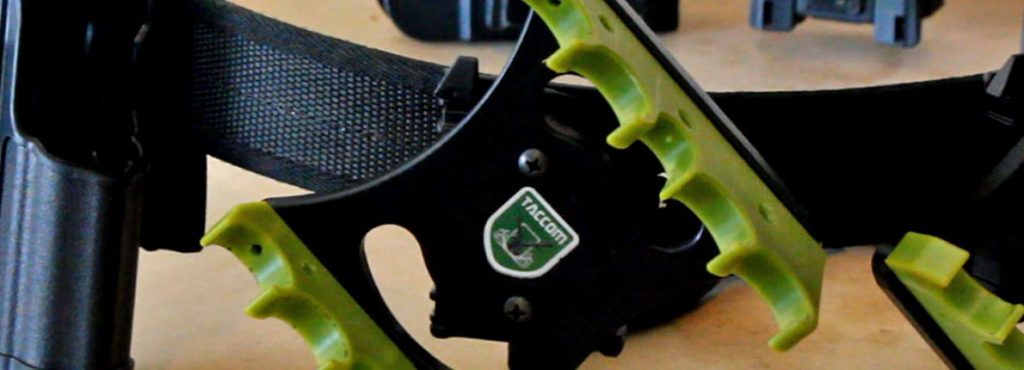
I’ve grown fond of the traditional speed belt, whereas you have an outer belt with hooks and an inner belt with loops. A single belt keeper wraps around the slack of the belt and your set. It’s a quick system, and using Blade-Tech Tek Loks with your mag pouches and shell carriers makes rearranging the belt an ease.
The downside to using Tek Loks is that the belt becomes bulky where you have items attached, and you lose the benefit of the hook & loop system anywhere a Tek Lok is placed. This can be mitigated by adding additional hook material to the back of the Tek Lok, but it’s still not as secure of a fit as I’d like it to be.
Enter the Safariland ELS system, and you’ve got a belt that’s tedious to secure but accessories that are easy to add or remove as needed while maintaining a slim profile and not inhibiting the belt’s ability to keep itself attached to your person.
Wanting the best of both worlds, a fellow 3 Gunner opened me up to the idea of just mounting the Safariland ELS brackets to a CR speed belt. It’s genius really, and doesn’t take much time or effort to make the switch.
A few assumptions are being made here – the first being that you’ve already got your belt laid out the way that works best for you, and that you’ve got your new ELS brackets on hand ready to mount. Lastly, you’ve got a cruddy soldering iron lying around or are willing to drop $6 on a hobby shop cheap-o.
Some notes before getting started:
Do not use a drill bit. The material will fray and bind up on the bit, ending the project in nothing but frustration. A soldering iron is the only way to go here.
I mounted my ELS brackets in line with the top of the belt. I found this to be more comfortable for me, but I can just as easily move it higher using the same holes in the belt.
Avoid starting this project until you’re certain of the location of your belt accessories, as it’s a semi-permanent solution. These belts aren’t really designed to accommodate a swiss cheese array of holes because you couldn’t figure out where to put something.
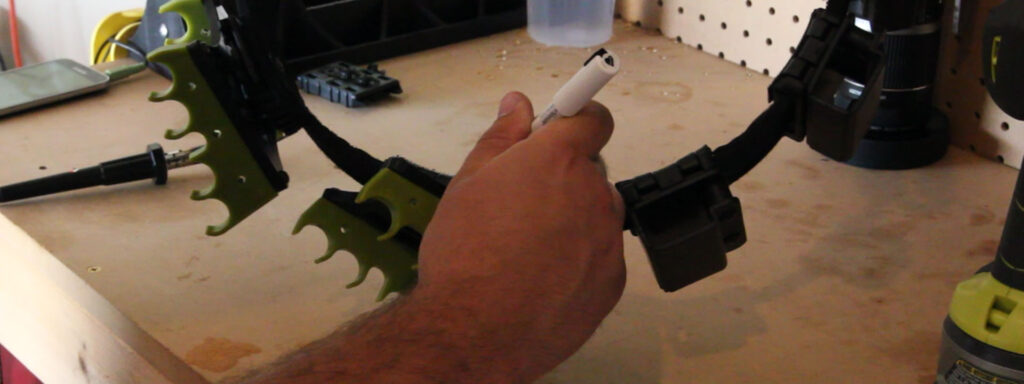
I found it best to tackle my mounted accessories one at a time, using a paint pen to mark where the Tek Lok originally sat:
Use a paint pen to mark the original Tek Lok location on the belt
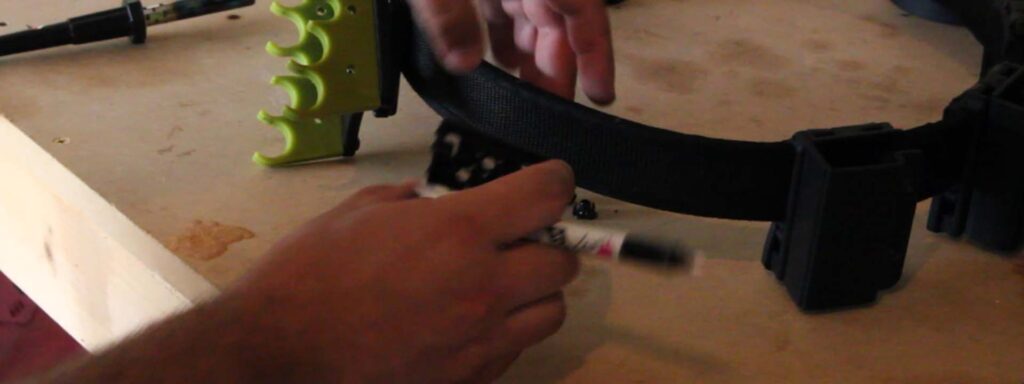
Then, hold the new ELS bracket in place to mark where you need to burn holes through the belt:
Marking holes for the ELS bracket
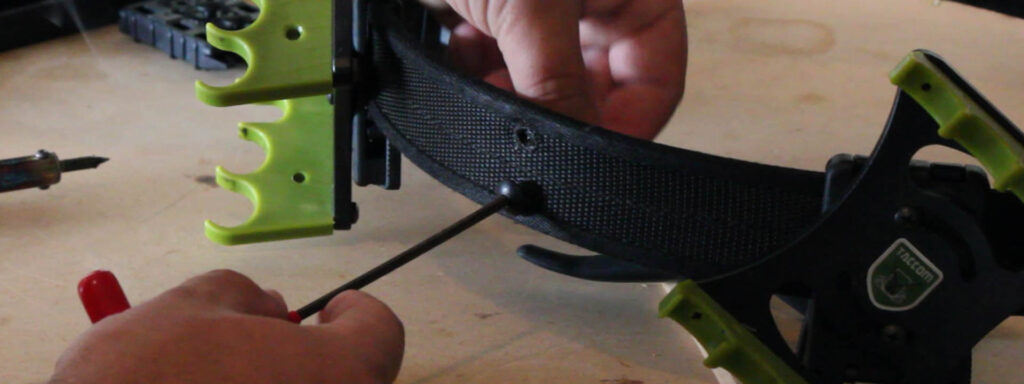
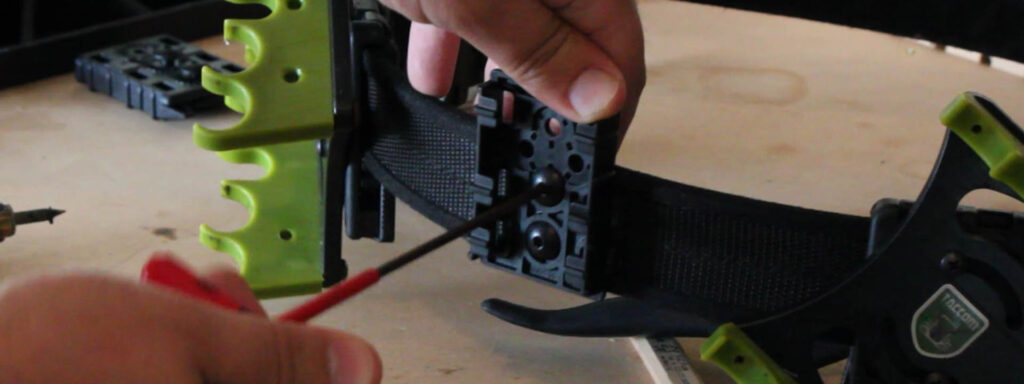
Push the soldering iron into the belt at the marked spots. Spin the soldering iron a bit to widen the hole and let the melted fabric cool before proceeding:
I found it easier to attach the ELS bracket if I’d pre-sink the T-Nuts into the belt before trying to add the clip. That’s as simple as just threading the screw all the way into the T-Nut:
Pre-sink the t-nut into the belt material before mounting the actual ELS bracket.
Mount the bracket to the belt. Use some blue loc-tite of you’d like, but I haven’t found that to be necessary as of yet:
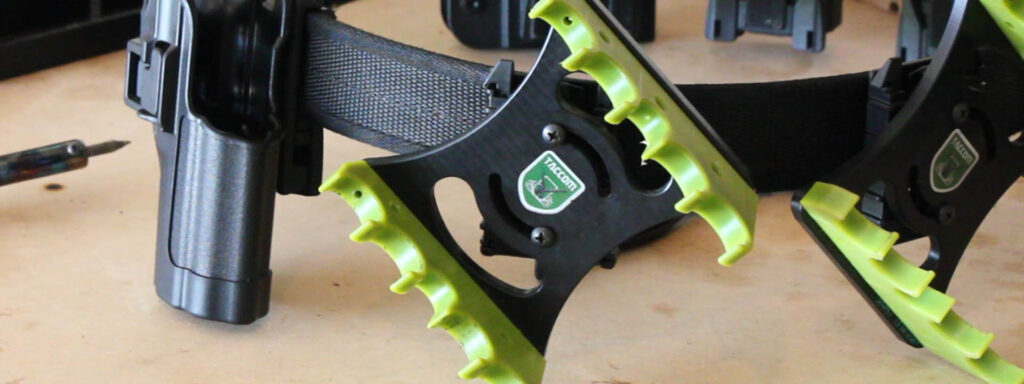
Finally, re-mount your mag pouch or shell caddy to the new ELS clip and attach it to the belt.
Action Gunner is built by competitors who live this sport week after week, sharing field-tested gear reviews, match coverage, and practical guides for shooters who want to perform better on the clock. Everything we publish comes from real experience: time on the range, time in the match, and time sorting out what actually works. Our goal is simple: give the competitive shooting community honest information, clear instruction, and a place where shooters of all levels can learn, compare notes, and keep pushing forward. Whether it’s a deep dive on gear, a walkthrough of a tough stage, or coverage from a major match, Action Gunner always puts the shooter first.