Bore-sighting, or to bore sight a rifle, is the quick and simple act of aligning a target through the rifle’s open bore with your eye after properly mounting your optic. At the same time, you center the target through your scope. Knowing how to bore sight a rifle makes it easier to get rounds on paper and start the actual zeroing process at the range.
Laser bore-sighters can also be useful for aligning your scope, but not always a necessary tool – especially for an AR-15 where we can remove the upper receiver. They do work well with lever-action and semi-auto rifles where you can’t get a clear view through the chamber into the barrel with your eye.
Bore-sighting should be the first step in zeroing your firearm as it will save time, ammunition and frustration while at the range. I’m going to cover how to bore sight a rifle with both the traditional method and a modern approach using a laser bore sight tool.
A properly mounted and leveled optic is a must before you begin this process, we can walk you through that in this guide.
The tools or equipment required to quickly bore sight your rifle is minimal and really depends on what you have available to you. A solid work area where you can stage your rifle is key, a gun vice is a definite bonus but shooting bags with a firm hold work just as well.
I typically bore sight down a well-lit hallway and use a light switch or power outlet as a reference target, ideally at least 25 feet away. If you don’t have indoor space available, you can get creative in your backyard. The further you can set your reference target, the better off you’ll be when actually zeroing. You’ll be in good shape if you can establish boresight around 25 yards.
It should also go without saying, but we need to remind you – make sure your firearms have a clear chamber and live ammunition is not present before proceeding further.
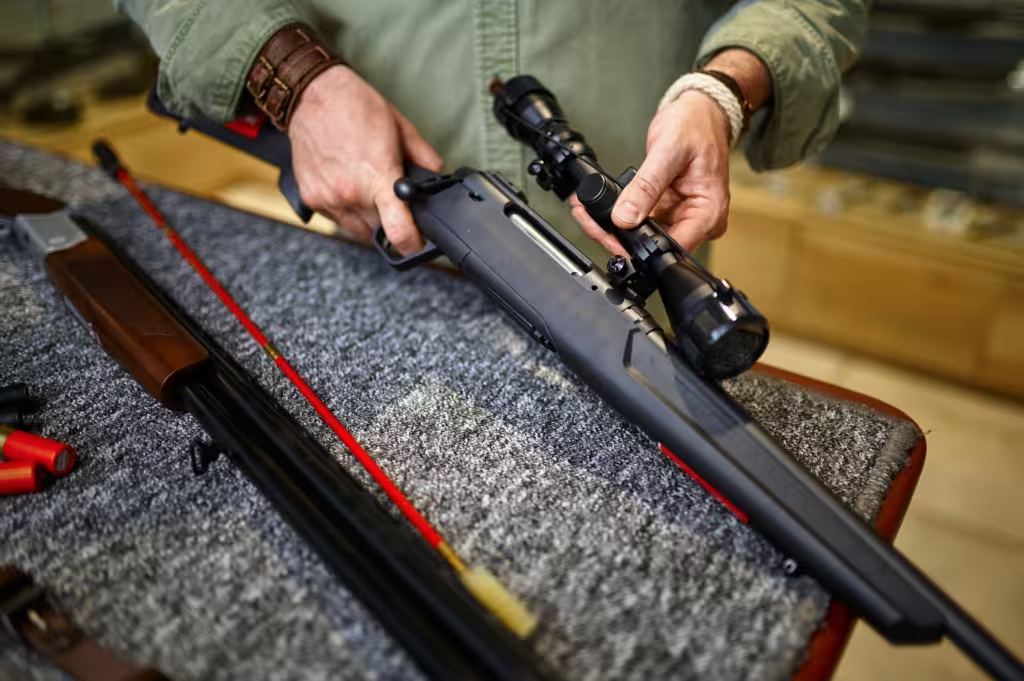
To start, ensure your rifle is clear, remove the bolt, mount the rifle on a solid work surface and look through the chamber into bore towards your reference target (12 feet up no more than 50 yards). Make sure the target is right in the middle. Then, through the scope, adjust your windage and elevation turrets until the reticle is generally centered on the same target.
Once you’ve made that alignment, your rifle optic is bore-sighted and ready to hit the live range. It’s best to start out at 25 yards with your actual target to get your rough zero dialed in, then move on to whatever distance you want your rifle to truly be zeroed at, usually 100 yards but depends entirely on you optic or use application (The Vortex Razor HD Gen II 1-6 calls for a 200 yard zero to properly utilize the reticle, for instance).
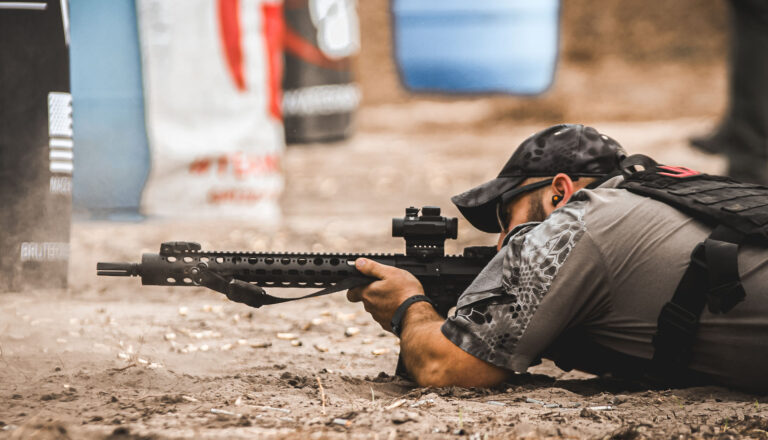
Bore sighting an AR-15 is easy, much like for a bolt-action rifle. First, take off the upper receiver and remove the charging handle and bolt carrier group. You’ve now got a clear view through the chamber and bore to aim at your boresight target.
Once you have the upper split and bolt carrier group removed, the process is the same as we described for the bolt-action. Mount the AR-15 upper receiver to a firm surface or within a gun vise, aim at a reference target and adjust the scope windage and elevation to match.
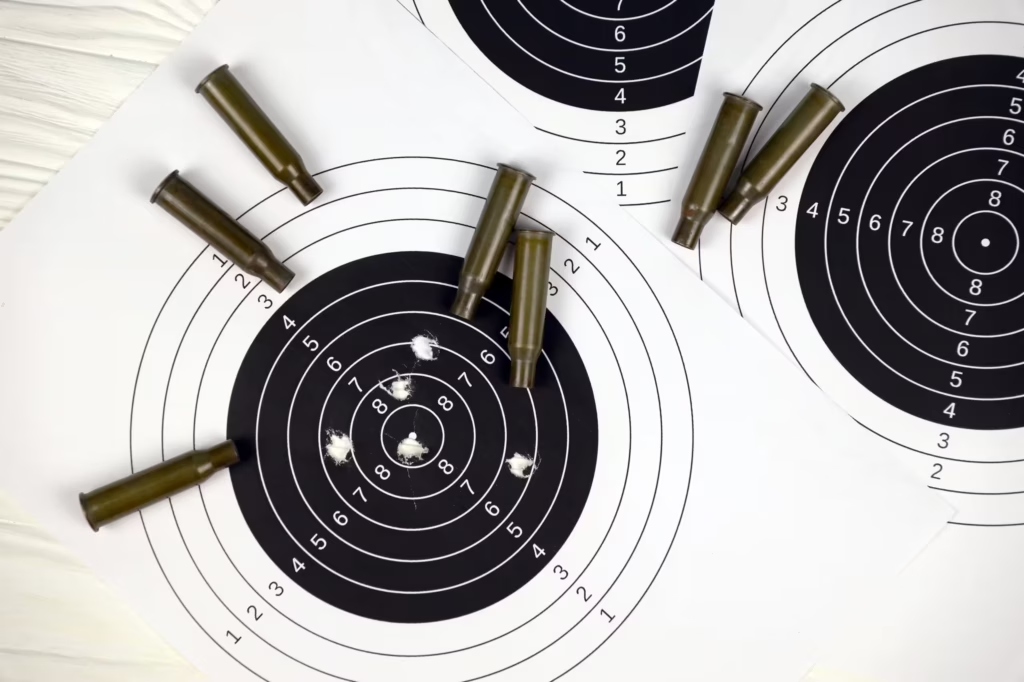
After you’re finished making adjustments, take it to the range and proceed with the actual zeroing process. Start at 25 yards, if you’ve adjusted correctly you should be close to center of target.
Make additional adjustments as needed and move on to establishing your zero for whatever defined distance you prefer.
Now that we’ve covered the traditional method, let’s talk about laser bore sighting. I personally find these to be an un-necessary spend for such a trivial process, but technology can be great for introducing efficiencies in your process if you choose to spend your money on it.
Their most prominent efficiency is that you only have to set your rifle up once at the 25 yard firing line, use the laser boresight tool to make initial adjustments – then live fire and zero from there. This skips the process of mounting your rifle, messing with targets and staring through your bore at home before heading to the range.
There are primarily three types of laser bore sighting devices to choose from:
Chamber Laser Cartridges: These have a profile that match the cartridge of your rifle and sit directly in the chamber to project the laser through the bore. The downside is that you need one for every caliber you plan to use it on.
End of Barrel Laser Boresight Tools: These lasers have a tapered tail that inserts directly into the end of your barrel, with a rubber damper that you choose by caliber to provide a tight fit. This is probably the most universal device available to cover all of your firearms. I’ve even used them on pistols out of curiosity.
End of Muzzle Laser Boresight Tools: Another universal option, these lasers have a flat magnetic base that attach directly to the front of your muzzle device. This is a great option if all of your muzzle devices are flat or have a surface suitable for it. The Viz-Max Bore Sighter by Real Avid is one such tool.
No matter your choice in tool, most calibrated for a “rough” zero at 25 yards. This means that they’ll generally put you on an 8.5×11″ piece of paper, which is about as effective as your eyesight is through the bore itself. They are by no means a precise reference point, and as long as you go into it with proper expectations – they’ll work just fine.
This will vary based on your chosen device. It’s best to consult their manual for specific steps, but it generally looks like this:
Bore sighting is a crucial step in ensuring your rifle is on paper for zeroing at the range. Whether you choose the traditional method or opt for a laser bore sight tool, the goal is the same: to align your sights with the rifle’s bore for an initial approximation of accuracy. Remember, bore sighting is just the start – the real precision comes with validation and fine-tuning at the range.